|
|
|
|
|
|
|
|
|
|
|
|
|
|
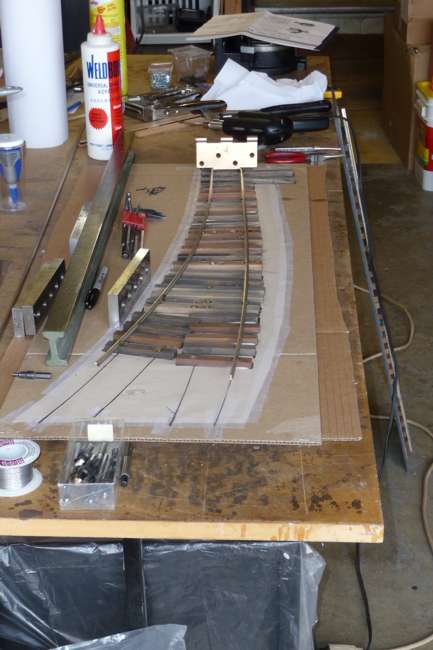
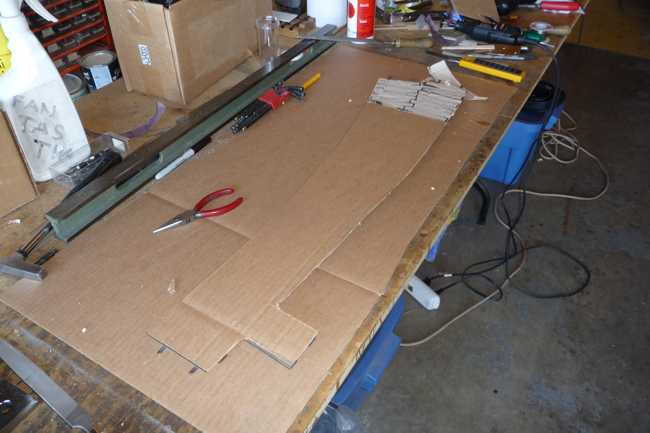
This was also a “how-to” example in a fora to show people that it can be done without any fancy tools, or even machine tools like milling machine, lathe and drill press.
|
|
|
First order was filing the recess for the points on both stock rails, tack them in place with a few spikes and solder to the anchor points.
|
|
|
|
|
|
|
|
|
|
|
|
|
|
|
|
Next the frog rails, in this case one rail is stepped into the other.
|
|
|
|
|
|
|
|
|
|
|
|
|
|
|
Followed by the closure rails.
|
|
|
|
|
|
|
|
|
|
|
|
|
|
|
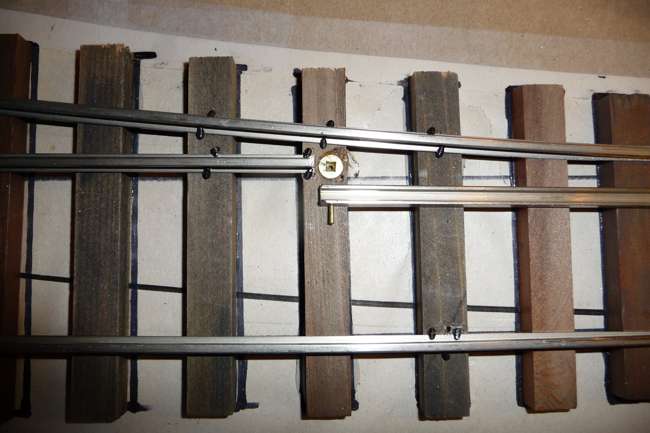
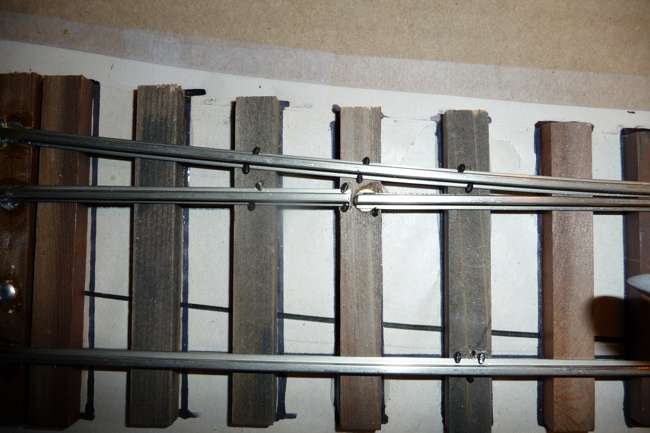
The point rails are hinged with yet another one of the brass screws serving as the swivel joint. A small hole is drilled through the base of the rail into the web, a short piece of brass wire is the pin.
|
|
|
|
|
|
|
|
|
|
|
|
|
|
|
|
A spike secures the end of the point rail in the swivel without restricting the motion.
|
|
|
|
|
|
|
|
|
|
|
|
|
|
|
The throwbar is made from PC board with a brass reinforcing tube epoxied to the base. Brass pins protrude through the tube and the PC board through the foot of the point rail and are soldered, then trimmed.
|
|
|
|
|
|
|
|
|
|
|
|
|
|
|
|
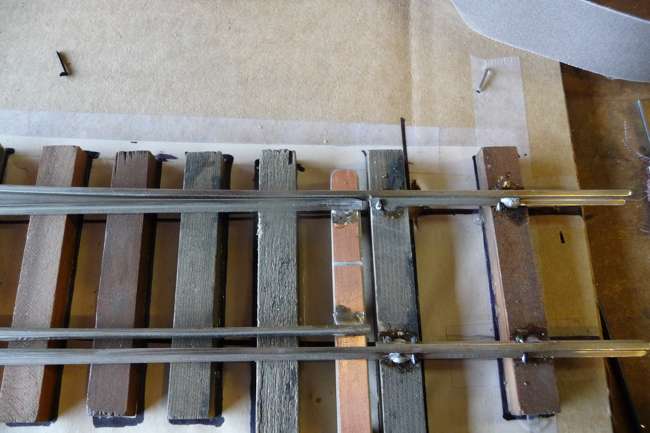
One of the Dremel reinforced discs cuts the correct width gaps to use 1.5mm styrene strips - glued in with CA - to insulate the frog.
|
|
|
|
|
|
|
|
|
|
|
|
|
|
|
|
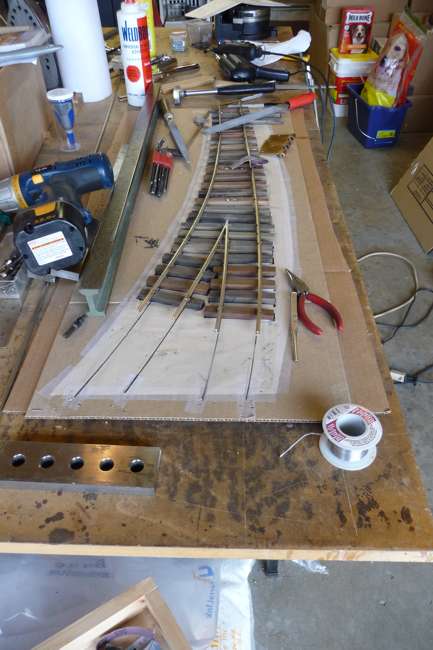
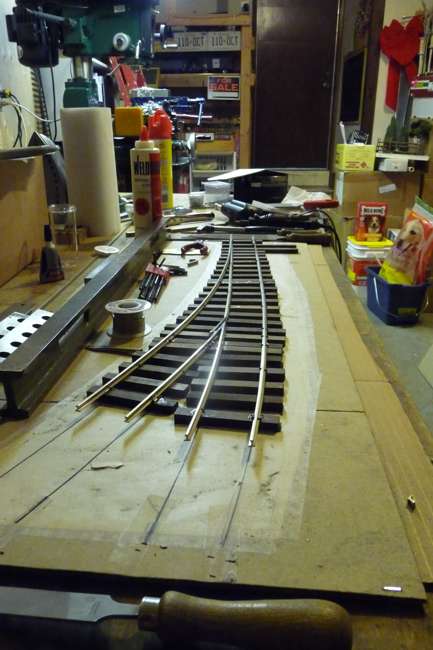
After fitting the guardrails it’s time to strip off the cardboard and then ....
|
|
|
|
|
|
|
|
|
|
|
|
|
|
|
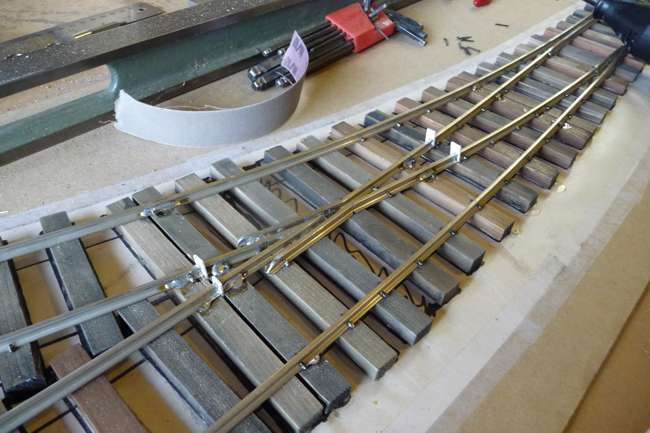
.. check the fit of the result.
|
|
Left to be done: electrical connections and a small adapter, in lieu of the baseplate, to hold the toggle switch.
|
|
|
Total elapsed time: 25 hours including all the daily routines that have to be taken care of i.e. cooking, walking the dogs, reading and sleeping.
|
|
|
|
|
|
|
|
|
|
|
|
|
|
|
|
|