|
|
|
|
|
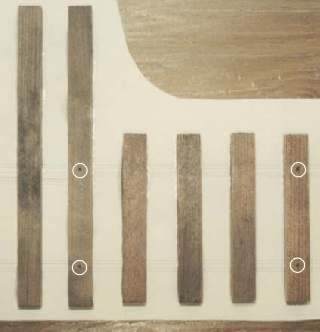
Preparing the rail and other items
|
|
|
|
|
|
|
|
The rail is cut with a hacksaw to the required length. It takes more than 6 feet of rail for one turnout! Deburr the cuts with a file. Clean the brass screws used for the anchor points to remove any oily residues.
|
|
|
|
|
|
|
Building the turnout
|
|
|
|
|
|
|
|
Placing the Anchor Screws
|
|
|
|
|
|
|
|
|
I use #6 x 3/4" solid brass Robertson woodscrews to secure the rail in strategic places. I mark the positions with an awl to prevent the drill from wandering. The screws are counter sunk into the ties to be flush with the top.
|
|
|
Prior to inserting the screws they are cleaned in an ultrasonic tank to remove all residues and oxides. This can also be done in a drill or lathe with emery cloth, as it is the top of the head which needs to be clean.
|
|
|
All except the two anchor screws which serve as pivot points (hinge) for the point rails, are inserted. To check for proper depth use a short piece of rail and move it across each screw. Next tin the screw heads with solder; if you cleaned properly the solder will flow nicely. It will bead if there are residues or oxides.
|
|
|
|
|
|
|
|
|
|
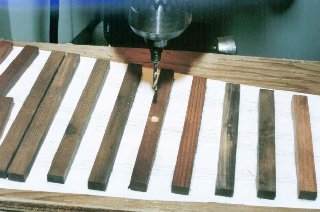
Spotted positions for some of the Anchor Screws.
Mark them with an awl!
This is similar to using a
center punch!
|
|
|
|
|
|
|
|
|
Drilling the Anchor Screw holes. Having a drillpress is an advantage, the holes will be perpendicular!
|
|
|
|
|
|
|
|

|
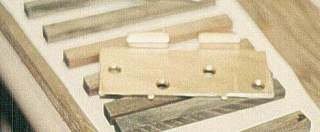
Inserted Anchor Screws in the frog area.
Tinned and ready for the first rail sections.
|
|
|
|
|
|
The Frog
|
|
|
|
|
|
|
|
|
|
|
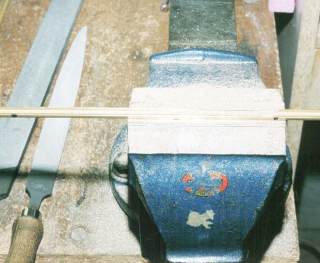
Next you bevel the two pieces of rail which form the point of the frog. You can either devide the angle equally to have long, slender points or you can step the one rail into the other which is more solid as well as easier to align and solder. The angle to either file or machine the rails at is 12° on the sample.
|
|
|
I use the step method and make use of my milling machine. However, the prototype I filed and, provided you use files that are in good condition, the work will go quickly!
|
|
|
Clean the two pieces of all residues and oxide. You will find that aligning and spiking the rail prior to soldering will make the job easy. Use the template as your guide! Solder the step joint, then solder the base of the rail to the anchor screws.
|
|
|
The heads of the screws are slightly larger than the width of the rail base, giving enough space for the solder.
|
|
|
|
|
|
|
|
|

|
Frog rails in position.
Note that the rail of the straight route is stepped into the diverging route rail.
Of course you can do it either way!
|
|
|
|
|
|
Stock Rails
|
|
|
|
|
|
|
|
|
|
|
The two stock rails are placed next, but first you will need to file the recess for the point rails. Only a very slight recess is required in the rail head, where the points meet the stock rail. You could even modify the points so that they nestle into the webspace of the stock rail and avoid the notch in the railhead.
|
|
|
Either way, you'll need a perfectly smooth transition at the points!
|
|
|
|
|
|
|
|
|
|
Filing the recess in the stock rail.
Mark the start and end point of the section (two black marks on rail head).
|
|
|
|
|
|
|
Position the stockrail, after cleaning all areas that need to be soldered! Use a few spikes to keep things in place. Now you'll need to check the gauge of the rail for the first time.
|
|
|
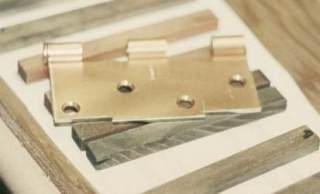
The next pictures show the two gauges I machined. I had some door hinges with missing pins laying around and being as they are plated steel they will serve well. No rust!
|
|
|
|
|
|
|
|
|
|
Gauge to check Flangeways and across interfering rail.
|
|
|
|
|
|
|
|
|
Gauge to check standard track spacing
|
|
|
|
|
|
|
|
Previous page
|
|
Continued on next page
|
|
|
|
|
|